
This article describes how to capture settings of the application that was supplied as MSI.
You can find general information about repackaging scenarios in section 3.1 of the PACE Suite Getting Started document.
Step-by-step instruction of capturing the Java settings using the Monitoring capturing method:
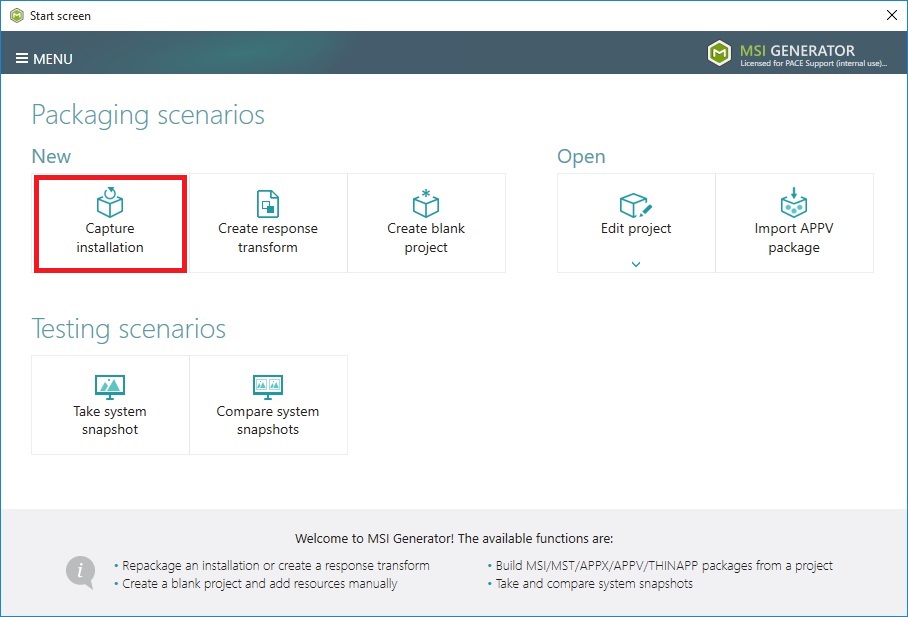
- Launch MSI Generator.

- Click Capture installation.
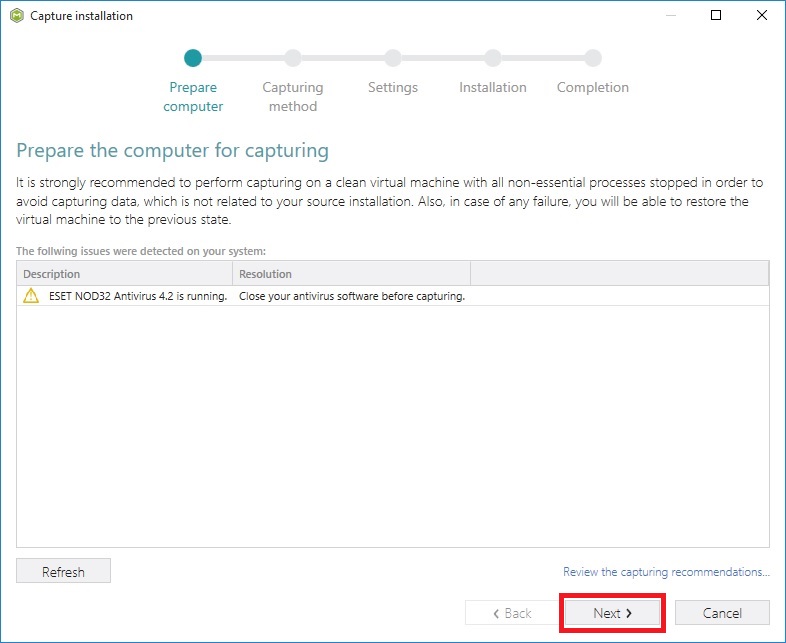
- Review the issues, which were detected on your system, and try to resolve them by closing the non-essential applications and stopping services. Thereafter, click Next>.
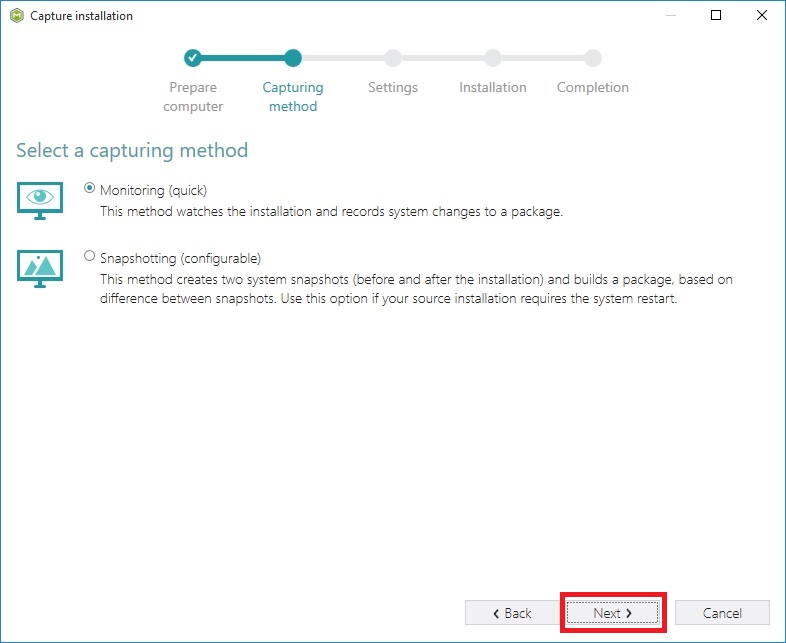
- Select the Monitoring method and click Next >.
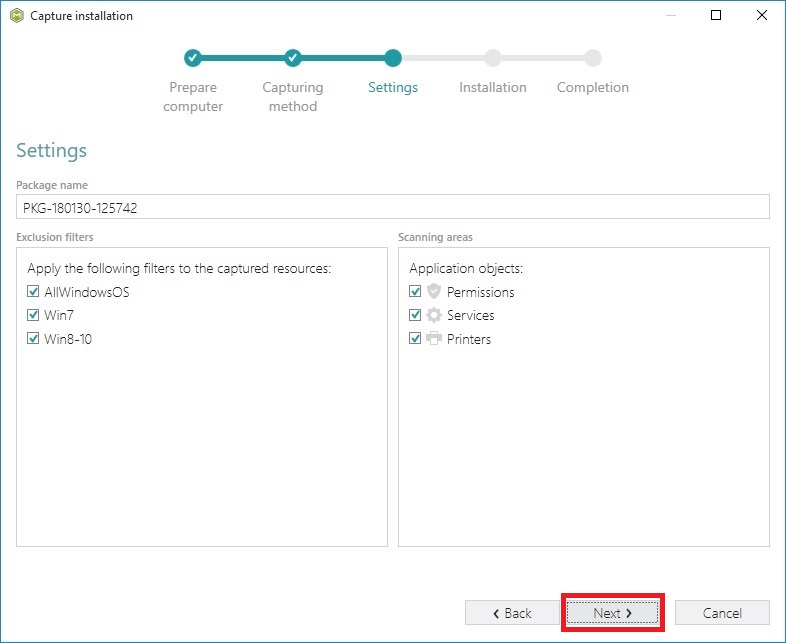
- Click Next>.
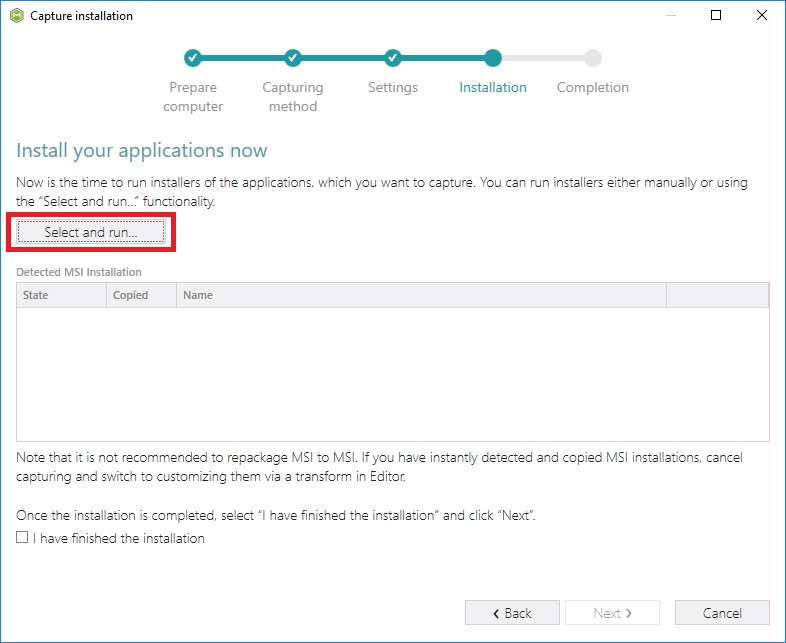
- Click Select and run....
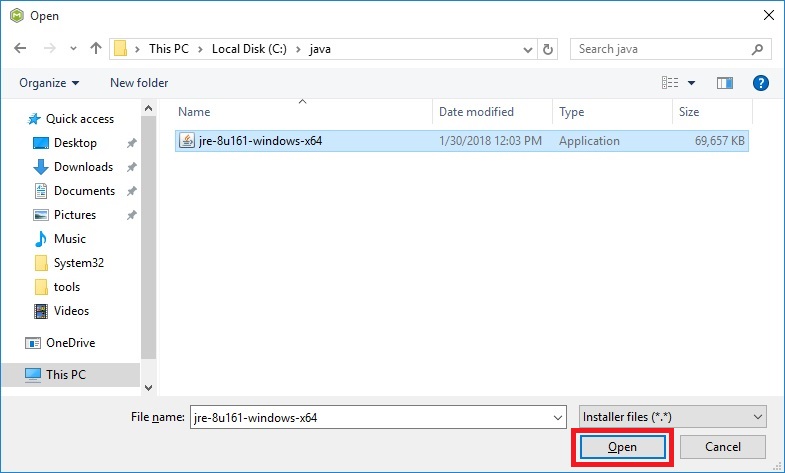
- Select the Java setup file and click Open.
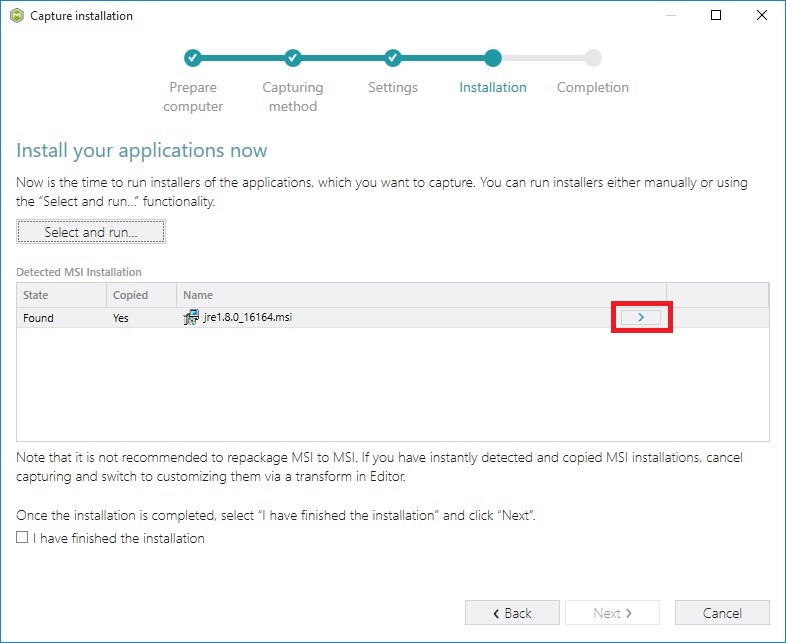
- Click on the button with the arrow icon to open the MSI containing folder and make a copy of the extracted MSI package.
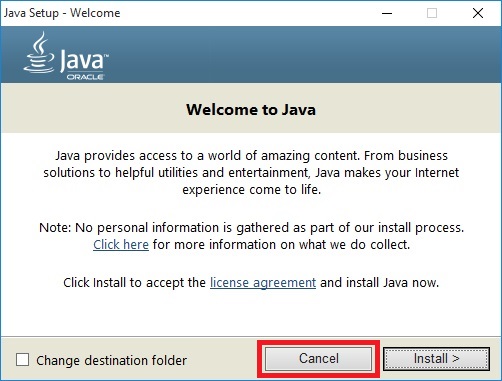
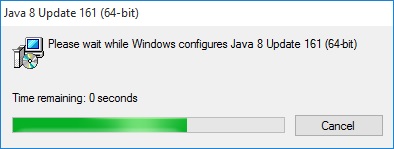
- Click Cancel on the Java installation window and Capture installation window.
- Install the extracted Java MSI with the default settings.
- Repeat the steps from 1 to 5 of this instruction.
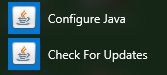
- While MSI Generator is on the Capture Installation step, launch Configure Java.
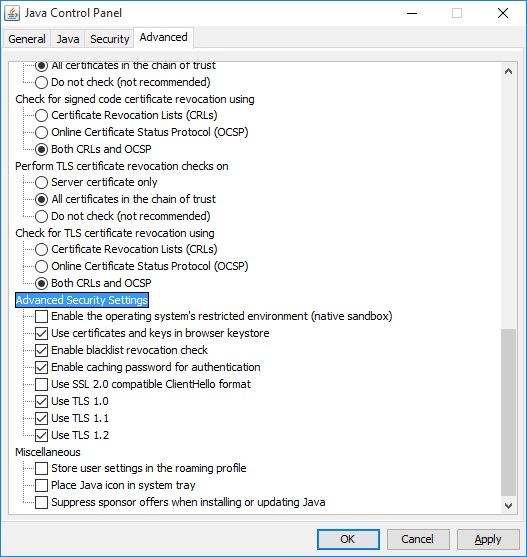
- Make required changes to the Java configuration, click Apply and OK.
- At the MSI Generator Capture Installation window select the I have finished installation
checkbox and click Next >.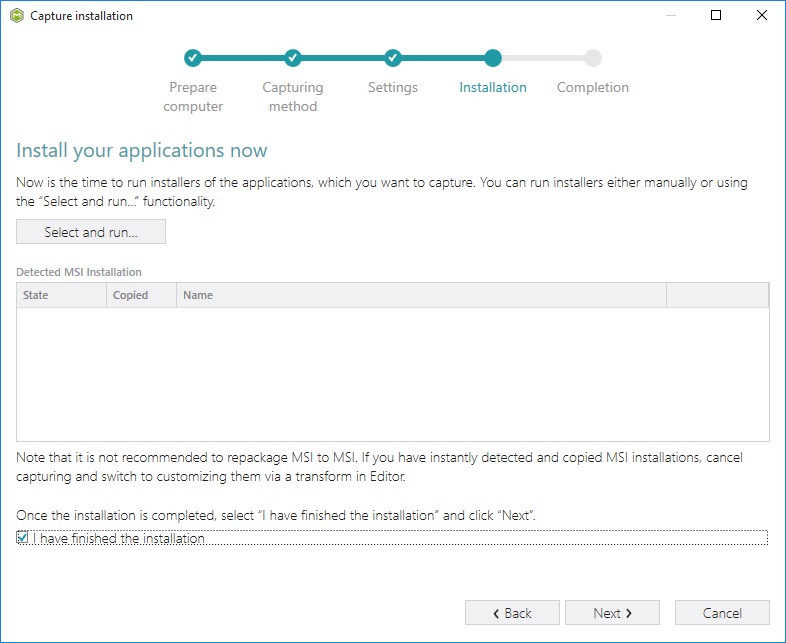
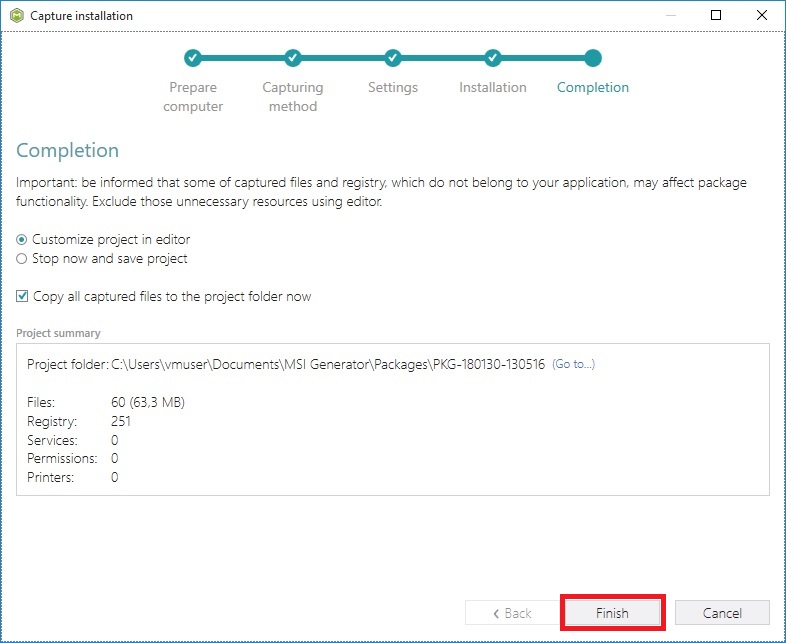
- Please wait for the capturing process to finish, filter captured data and create the project. As soon as the project has opened, go through the Files, Registry and Shortcuts tabs in order to review captured resources and exclude unnecessary ones from the project. Unnecessary resources are files, registry entries, which are usually created or modified as a result of operating system work, and such resources could not be a part of your captured application. Unfortunately, there is no universal rule to discover which of captured files or registry entries should be excluded, so exclude only those ones, which are almost 100% not related to your captured application (e.g. NOD32 antivirus files could be a part of Firefox application). Note that you can include back the excluded resources to the project.
- Click Finish button.
- (optional) In order to review the captured files and exclude unnecessary ones, open the Files tab.

- (optional) In order to review the captured registry entries and exclude unnecessary ones, open the Registry tab.

- Open the Package tab and select MST package type. Click Browse... located next to the the MSI file name.
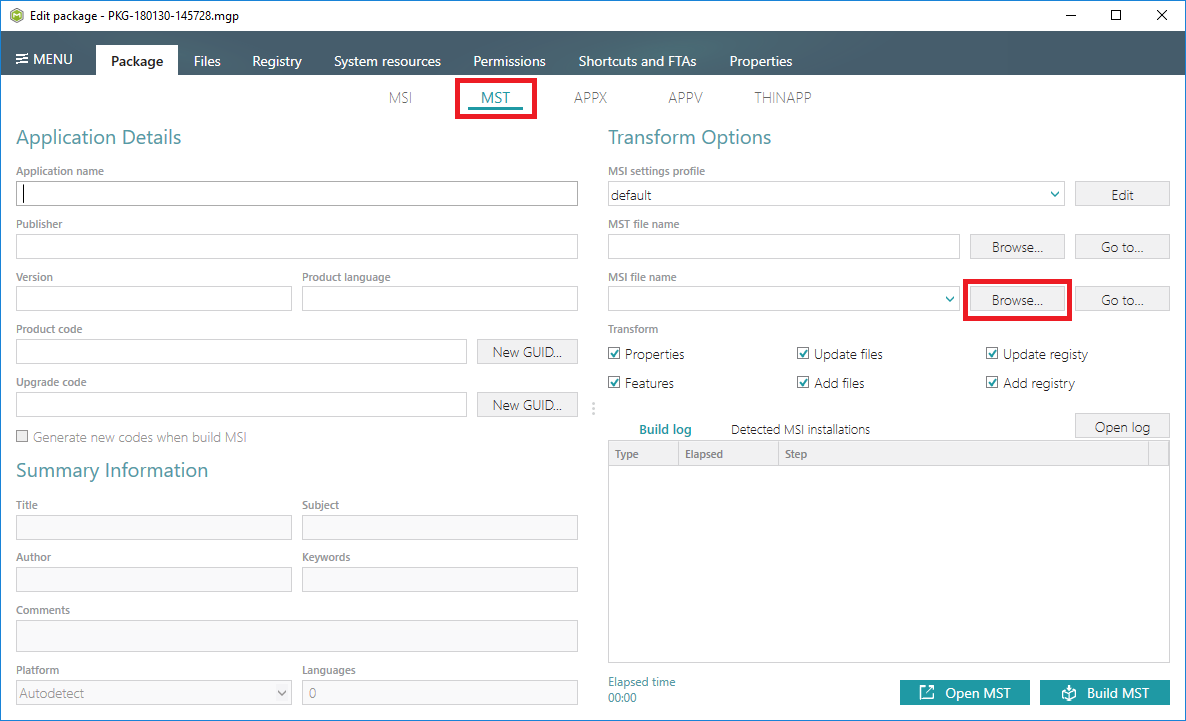
- Select the source Java MSI file and click Open.

- Click Build MST.
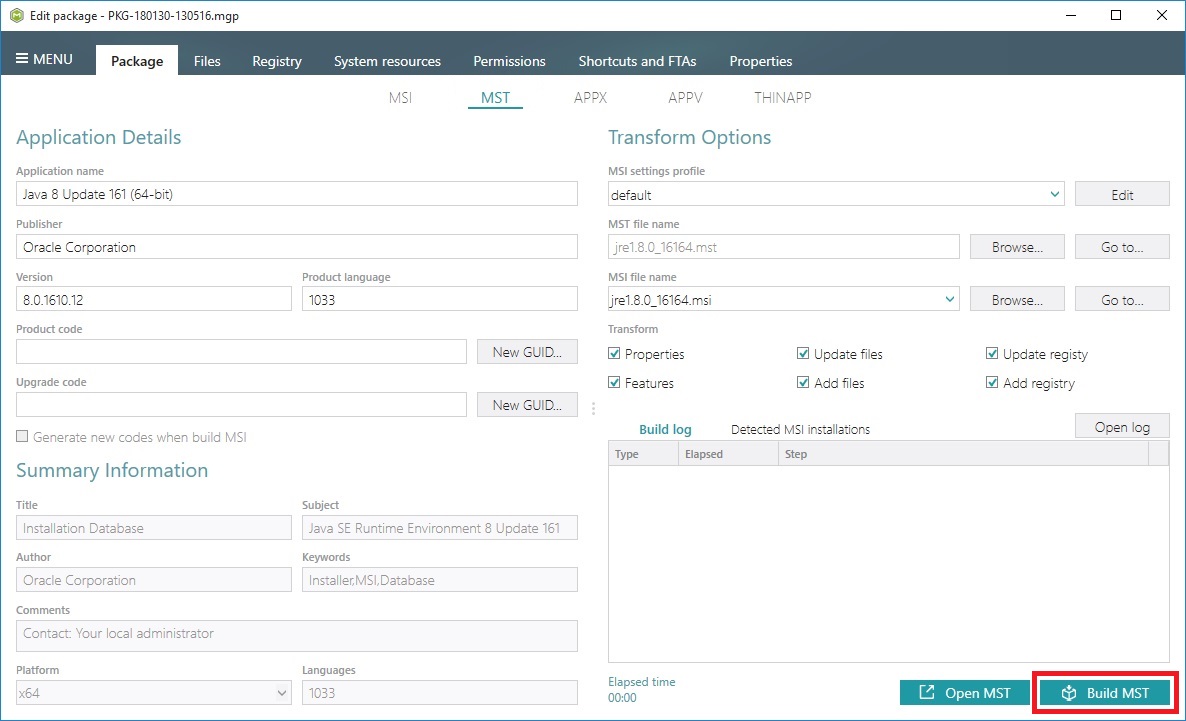
- Click Go to…, located next to the MST file name field, to open the package containing folder in Windows Explorer.

Comments
0 comments
Please sign in to leave a comment.